To enable Apache SpamAssassin utility, follow the next steps:
1. Log in to your cPanel and navigate to Email section.
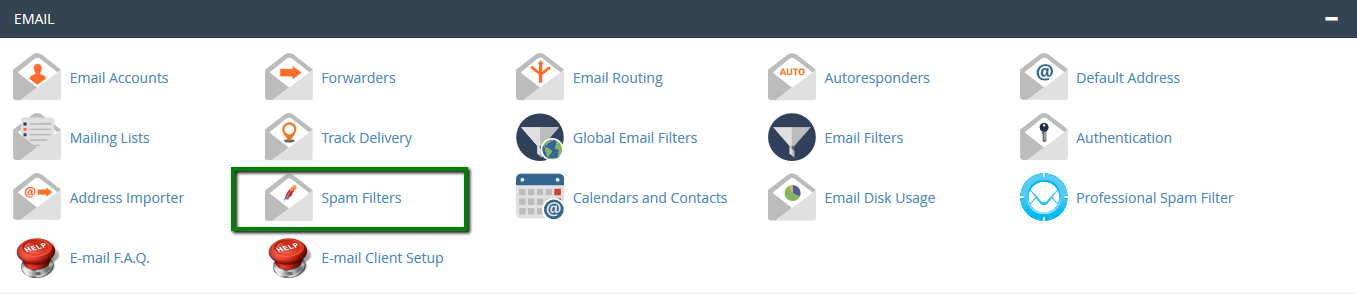
2. Click on the Spam Filters menu:
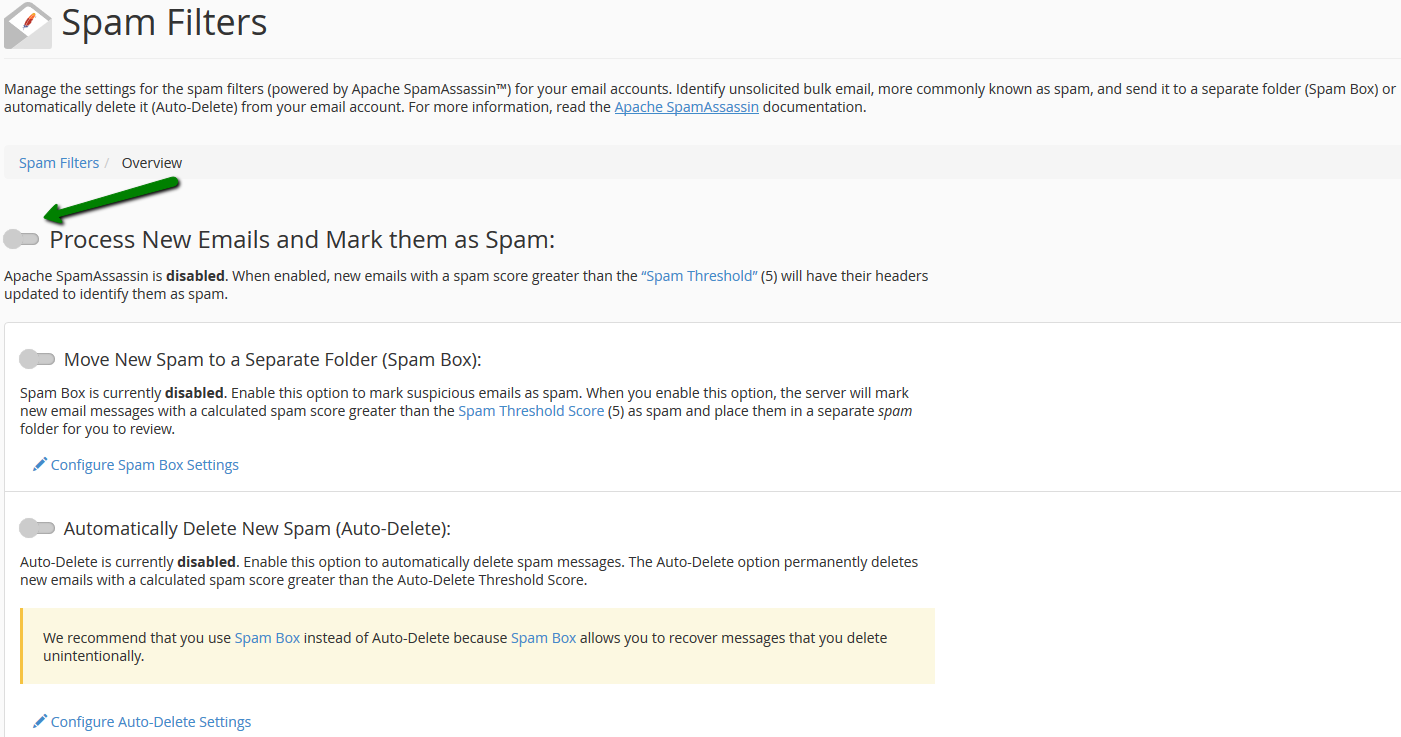
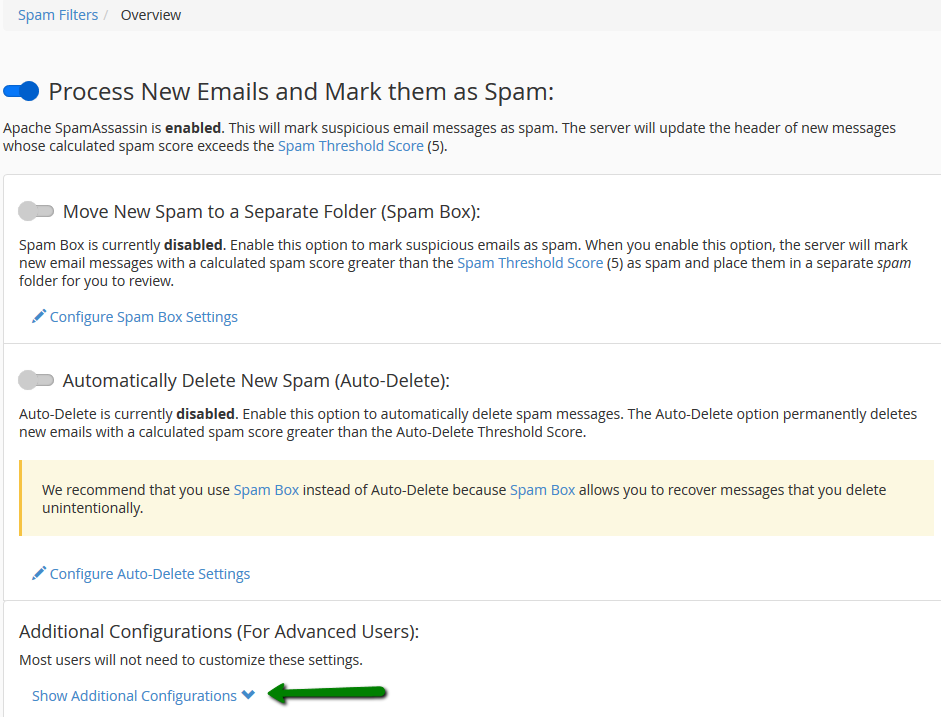
3. Click the toggle button near Process New Email and Mark them as Spam:
The Move New Spam to a Separate Folder (Spam Box) button makes Exim create a spam folder – a separate folder in your mailbox, which will collect incoming emails marked as spam.
By default, email messages with the score 5 are considered to be spam. However, it is possible to adjust the filter according to your needs. The spam threshold can be configured using the Spam Threshold Score option.
Spam emails have higher calculated spam scores than regular messages. For example, an account that uses a Spam Threshold Score of 10 will only mark messages that are obviously spam.
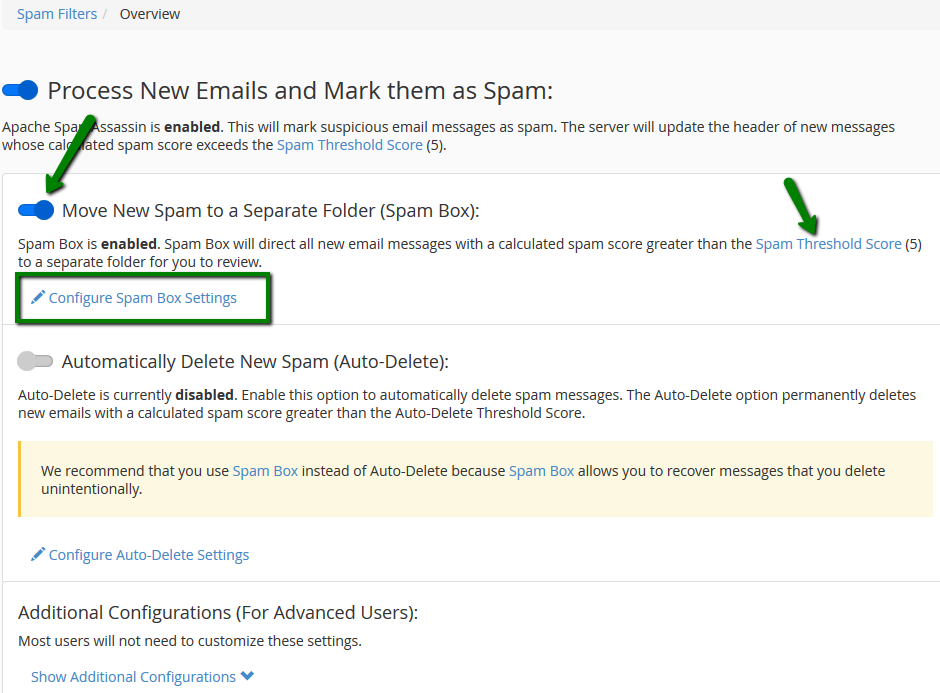
It is possible to delete the messages collected by Spam Box using Configure Spam Box Settings >> Empty the Spam Box folder or Empty all Spam Box folders buttons:

NOTE: Spam folder may not be displayed by default once Spam Box is enabled. It will be required to enable its display in the Webmail client settings.
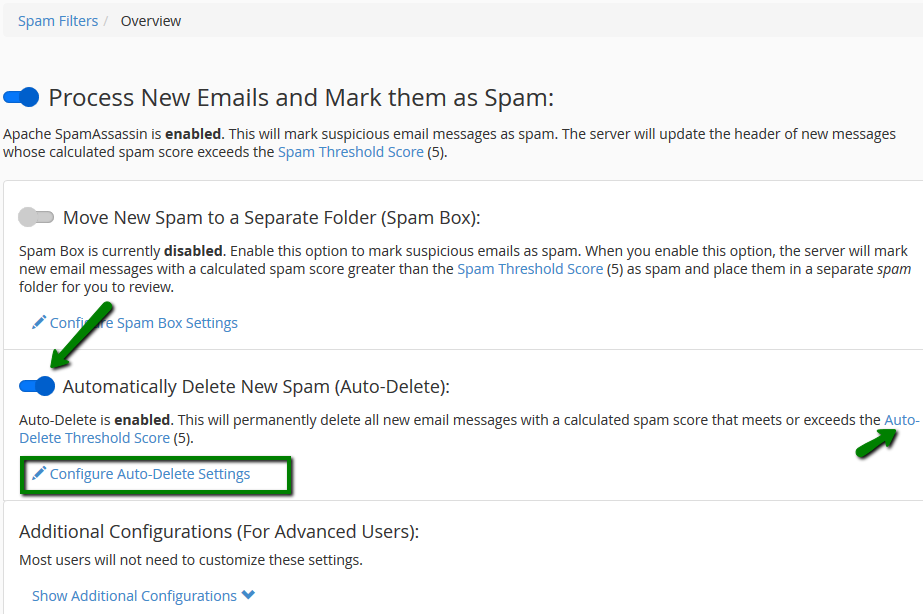
The Auto-Delete option automatically removes the emails which meet or exceed the spam score set. In order to set it, navigate to Automatically Delete New Spam (Auto-Delete) widget and toggle it on.
You can set the required score using Auto-Delete Threshold Score or Configure Auto-Delete Settings.
The Auto-Delete Threshold Score does not affect the Spam Threshold Score.
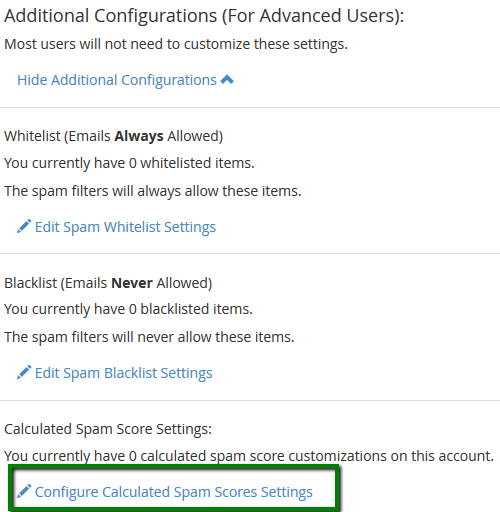
In order to navigate to the advanced settings, scroll down to the Additional Configurations >> Show Additional Configurations:
It is possible to add some email addresses or domains to whitelist/blacklist using the Whitelist (Emails Always Allowed) and Blacklist (Emails Never Allowed) options.
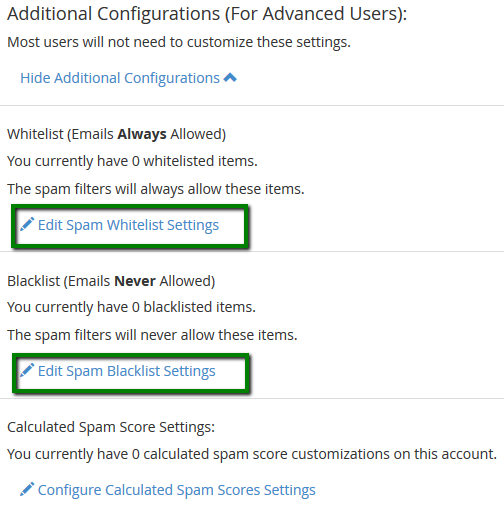
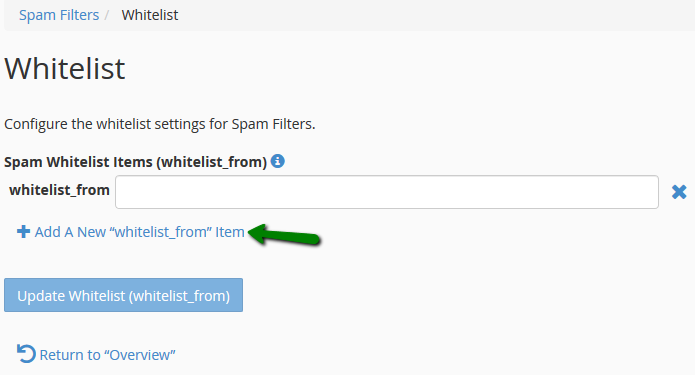
If SpamAssassin often blocks certain email senders and marks its emails as spam (incorrectly), it is possible to add the sender to whitelist via Edit Spam Whitelist Settings.
To whitelist specific sender, just enter it into the whitelist_from field:
Some emails may be incorrectly detected as non-spam by Apache SpamAssassin. If these email messages often come from the specific email senders, you can blacklist them using Edit Spam Blacklist Settings. SpamAssassin will then tag those ones as spam. To blacklist certain sender, just enter it into the blacklist_from field:
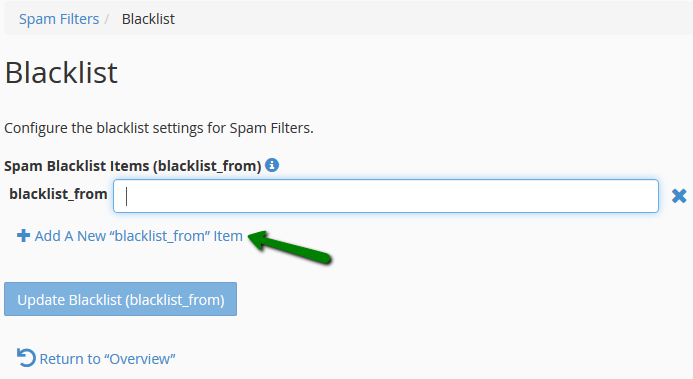
NOTE: whitelist and blacklist addresses are now file-glob-style patterns, so example@test.com, *@test.com or *.test.com will all work. Specifically * and ? are allowed, but all other metacharacters are not. Regular expressions are not used for security reasons.
Each incoming mail is being screened by SpamAssassin and given a score, based on the spam characteristics. Click Configure Calculated Spam Score to configure the individual test scores.
Click on Add A New "scores" Item, find the score field and configure it according to your needs:
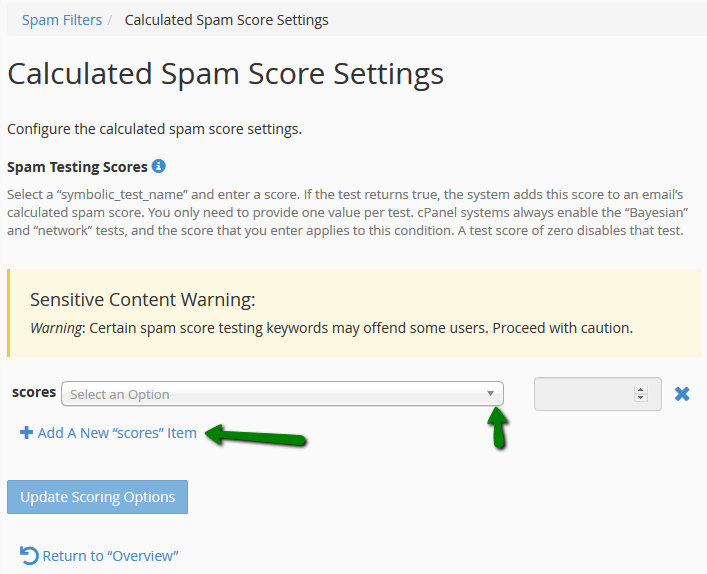
NOTE: the lower your score is, the more restrictive filter will be. Once done, click on Save at the bottom of the page.
That's it!
